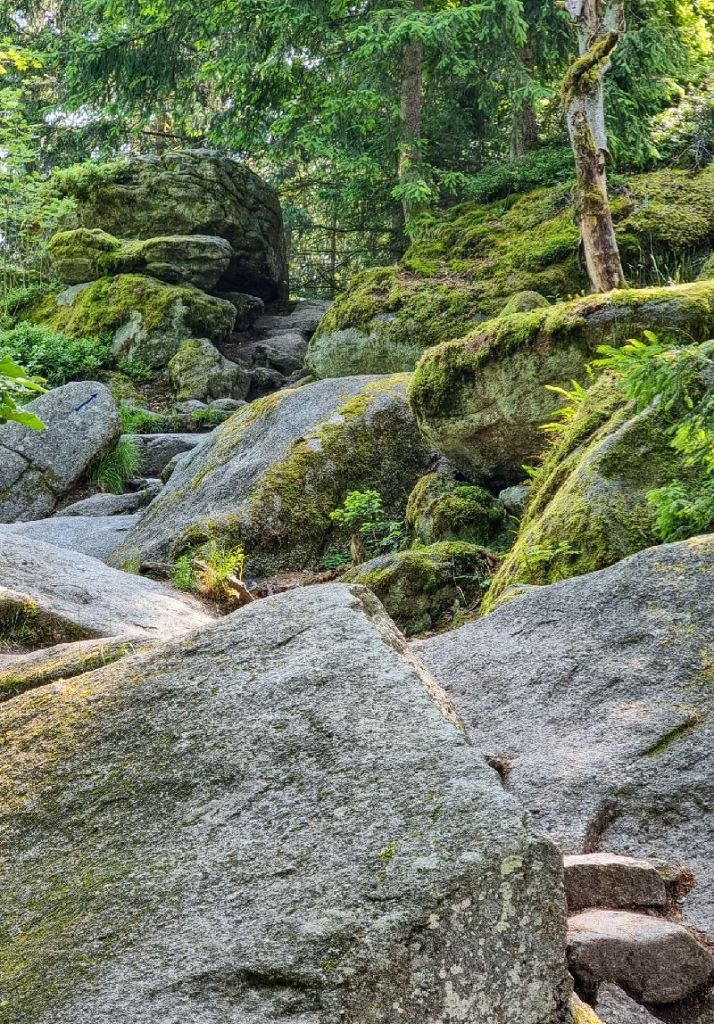
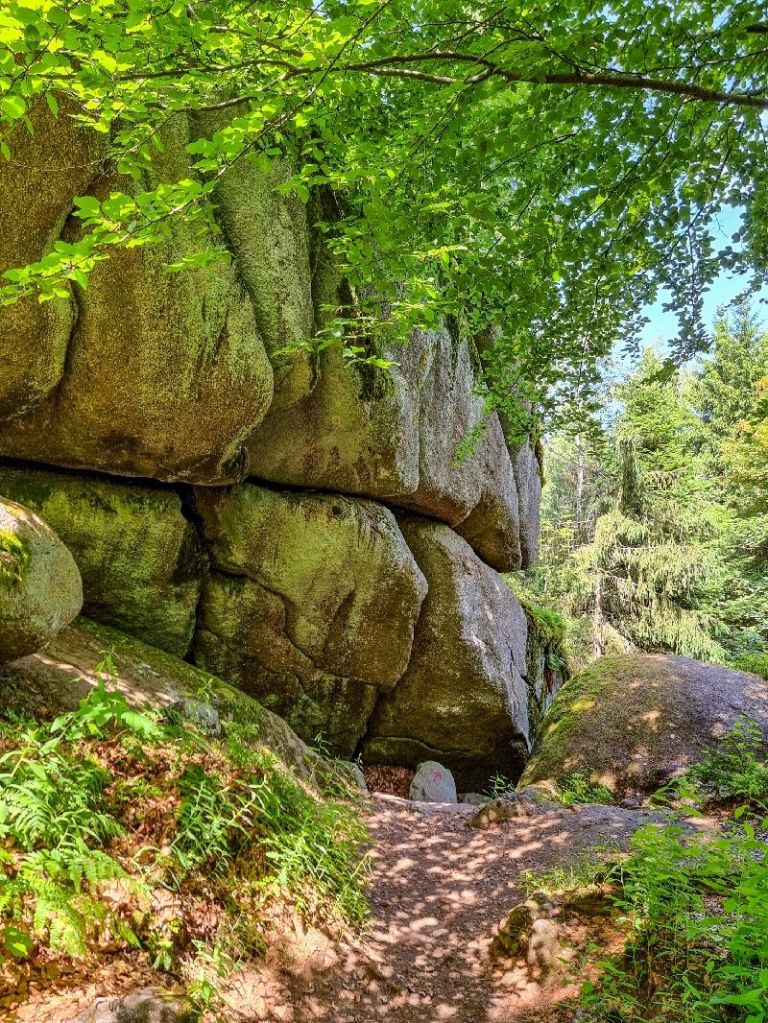
Im Fichtelgebirge, bei Wunsiedel, gibt es nicht nur eine tolle Freilichtbühne, sondern auch das größte Felsenlabyrinth Europas.
In the Fichtel Mountains, near the town of Wunsiedel, you not only can visit a very nice open air theatre but also walk the largest rock labyrinth of Europe.
Es gibt unterschiedliche Wege hinauf und hinab, diese sind markiert und man kann am Eingang auch eine Karte haben.
The paths up and down are different, well marked and you can take a map at the entrance.
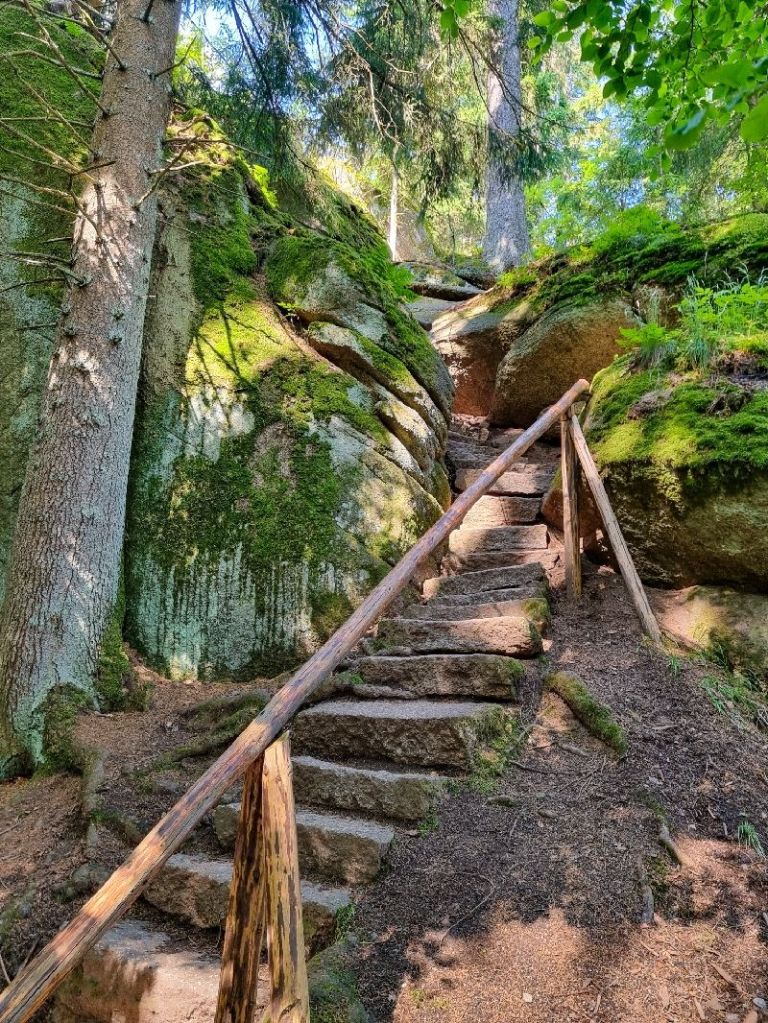
Der Aufstieg dauert ca. 45-60 Minuten, der Abstieg ist etwas kürzer. Ich habe natürlich für beides mal wieder länger gebraucht wegen der vielen Fotos😉. Um meine Gelenke zu schonen, war ich mit guten Wanderstiefeln und Stöcken unterwegs, worüber ich dann auch froh war. Allerdings laufen Leute auch mit Turnschuhen oder Sandalen dort hinauf.
For the way up you need about 45 – 60 minutes; the descent is a bit faster. As for me, I always need more time because of the photos. And as a relief for my aching joints, I wore good hiking boots and canes, of which I was glad. That said, people also go up there wearing sneakers or even sandals.
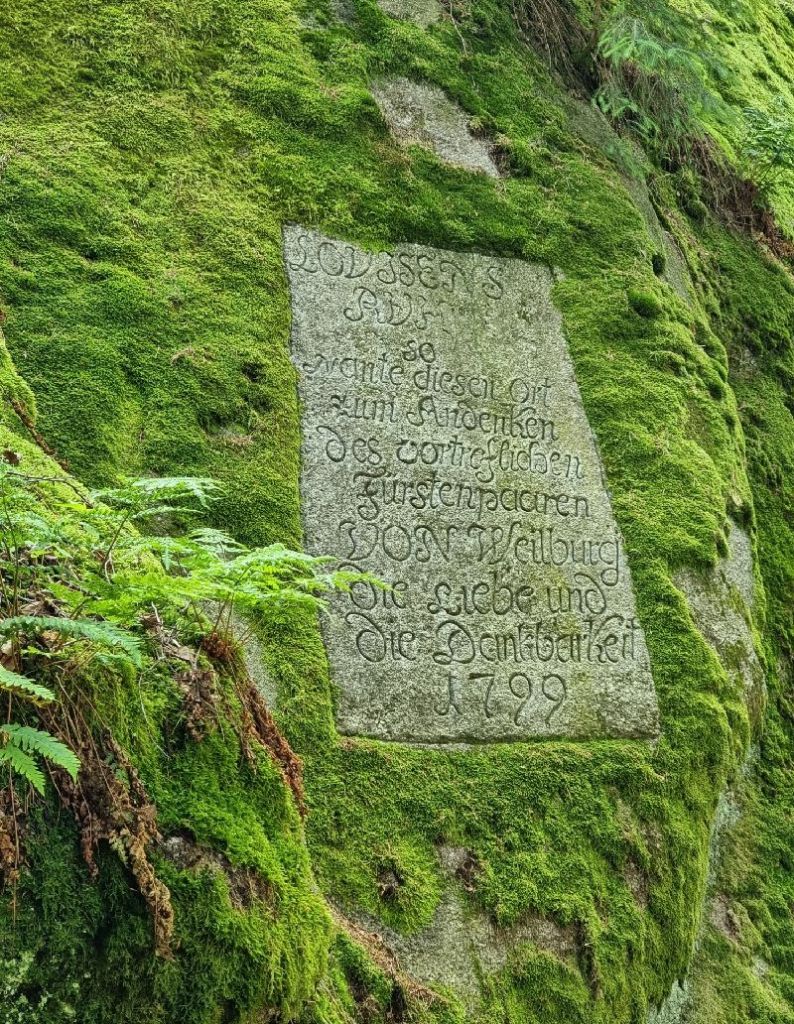
Einige gravierte Felstafeln erinnern an den Besuch der königlichen Gesellschaft um Königin Luise, die unter den ersten Besuchern des ab 1788 gangbar gemachten Areals waren. Vorher galt das Felschaos als verflucht! Der Name „Felsenlabyrinth“ stammt von Goethe, der es 1785 besucht hatte und hier seine Theorien über Granitverwitterung entwickelte – wer hätte das gedacht? Sie sind übrigens heute noch als korrekt anerkannt.
Some engraved rock plaques are reminders of Queen Luise with her entourage, some of the first visitors after the area had been developed for hiking (from 1788). Before, people avoided this „cursed“ place! Nevertheless, in 1785 Goethe visited and got his ideas of the weathering of granite, which are still deemed correct. Who thought a poet and writer was a natural scientist, too?
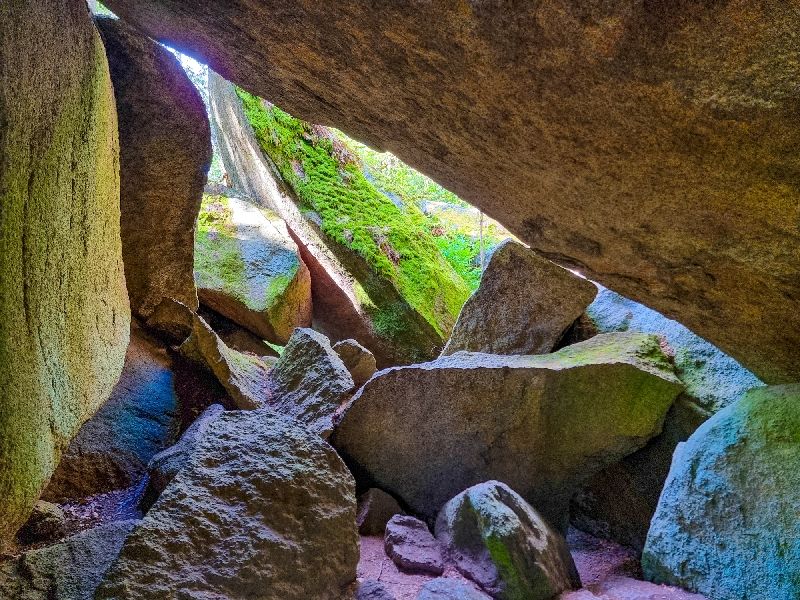
An manchen Stellen wird es schon recht eng, teils geht es nur gebückt durch kleine Höhlen.
In some places, you have to duck and squeeze through..

Blick aus einer Höhle nach oben..
View from a cave…


Jedenfalls alles sehr wild-romantisch, und auch für Kinder – wenn nicht mehr zu klein – ein großer Spaß! Mit kleinerem Kind in der Rückenkraxe bekommt man an den engen Stellen Probleme!
Anyway, all very wild and romantic, and especially great for kids! That’s to say, with very little ones that have to ride in a baby carrier on the back, it may get a bit too tight in the narrow places.
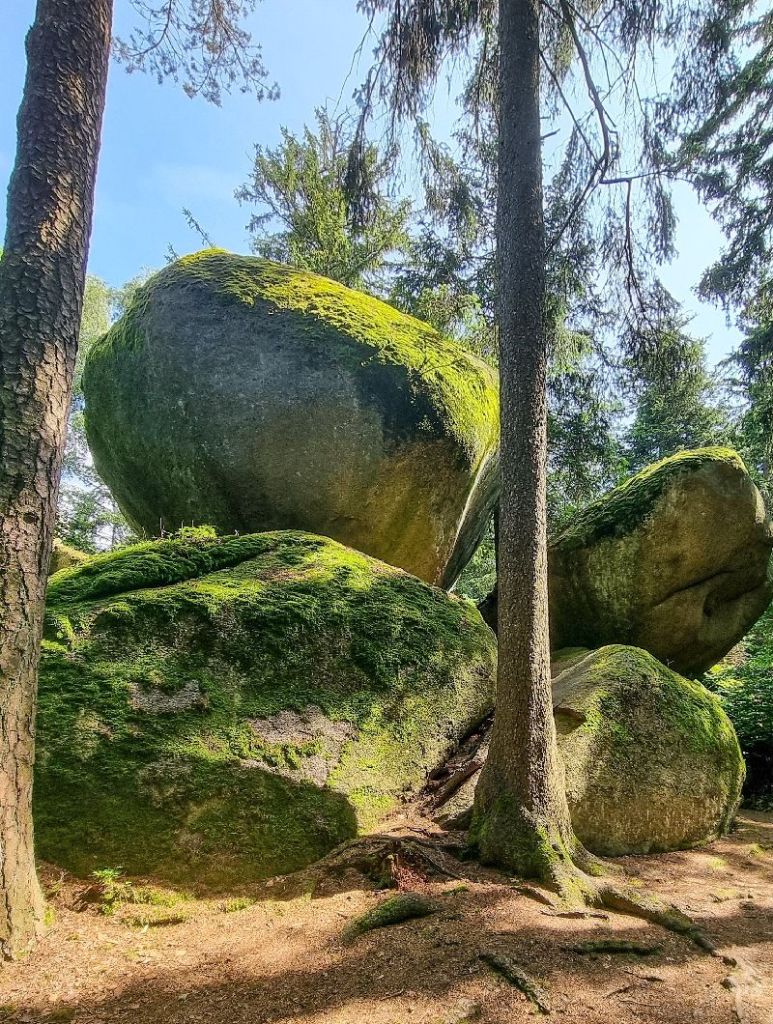
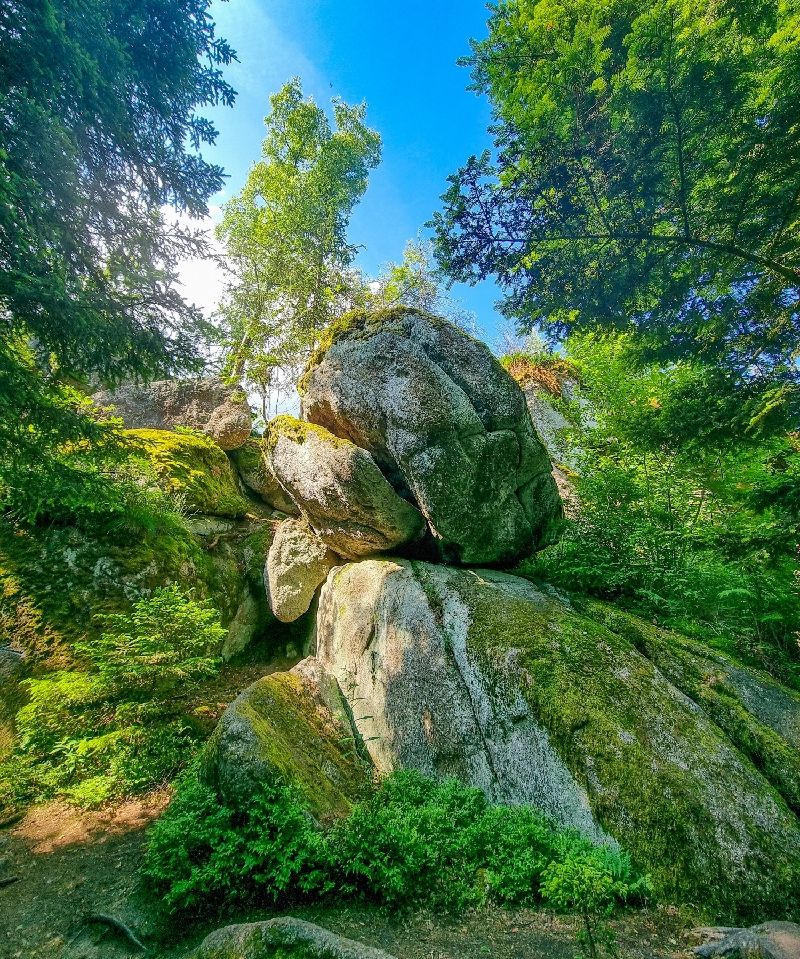
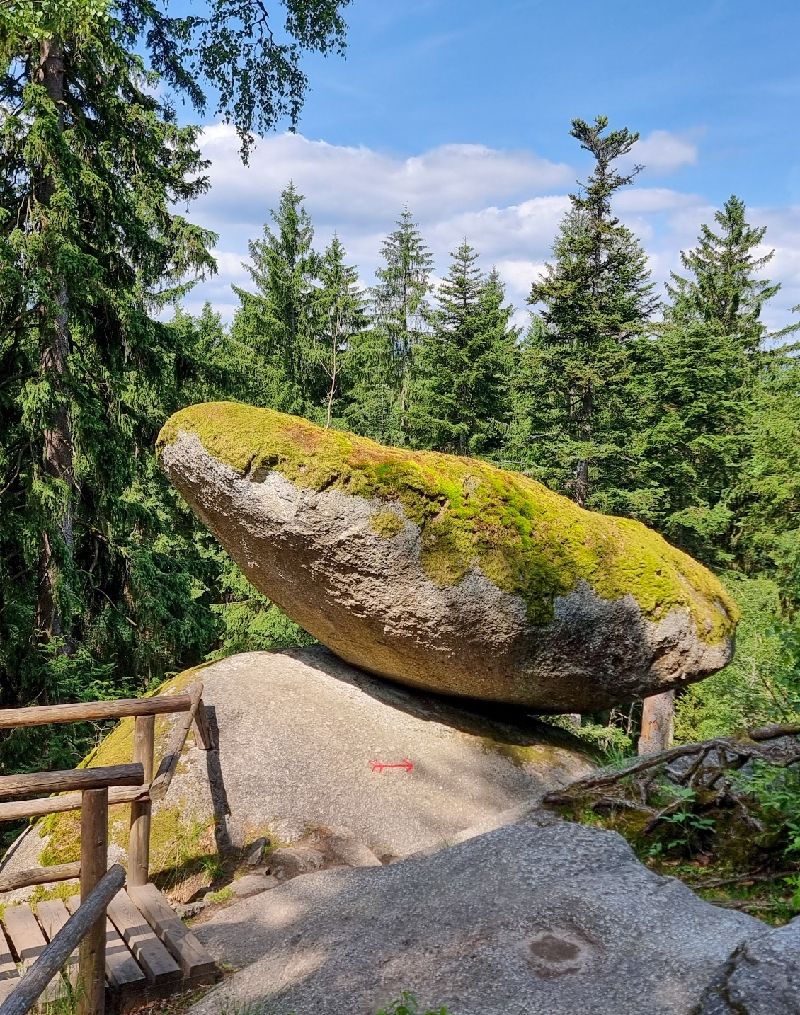
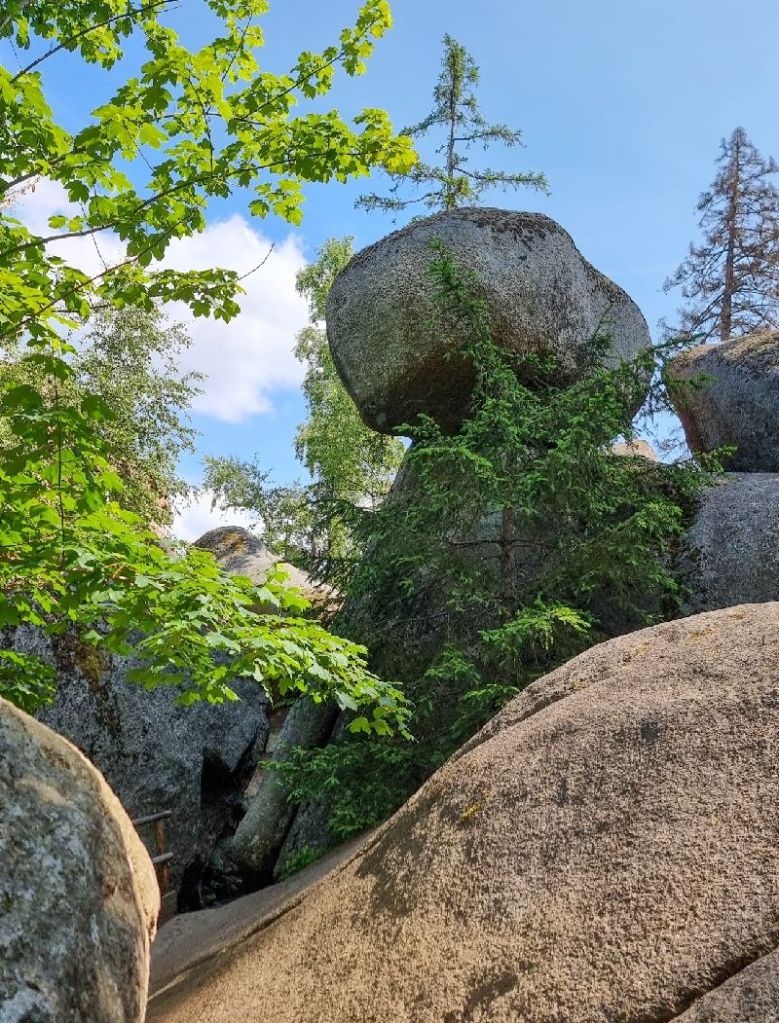
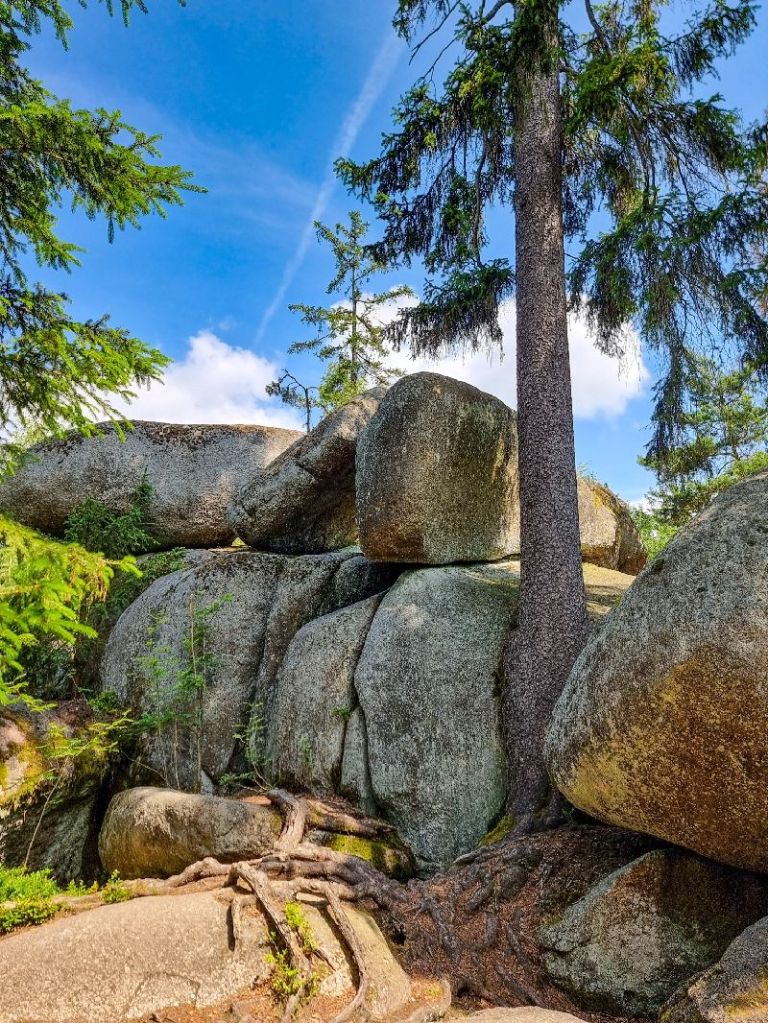
Bei manchen Felsen wundert man sich, dass sie nicht herunterfallen…
Some of the rocks make you wonder how they keep in place…

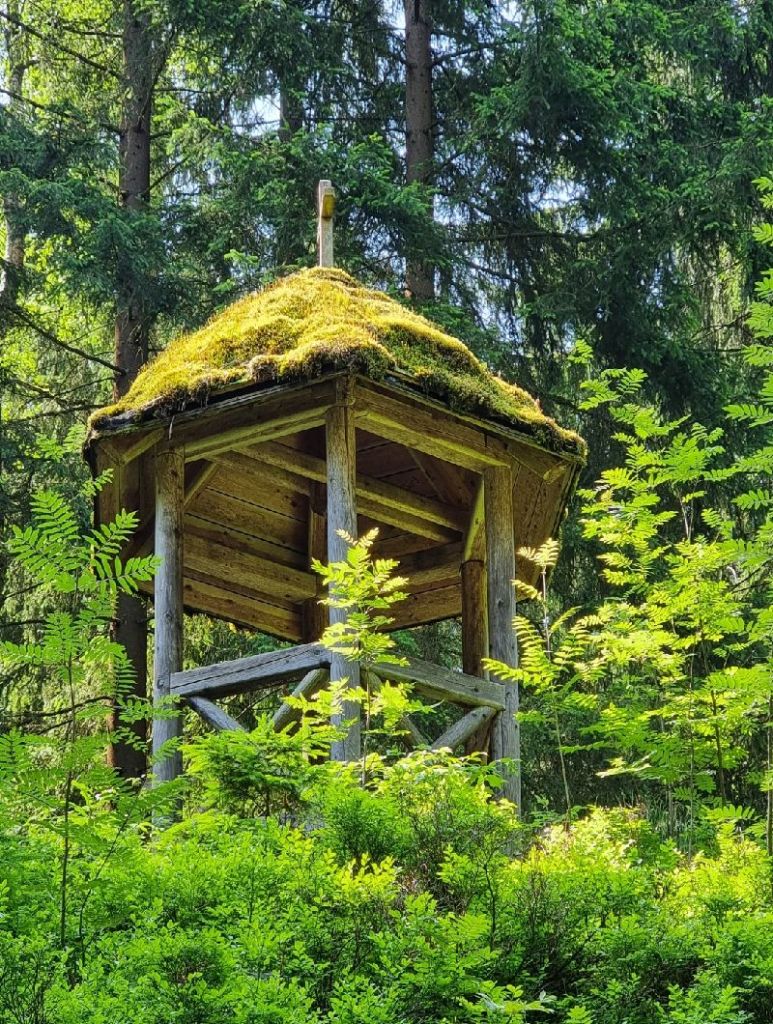
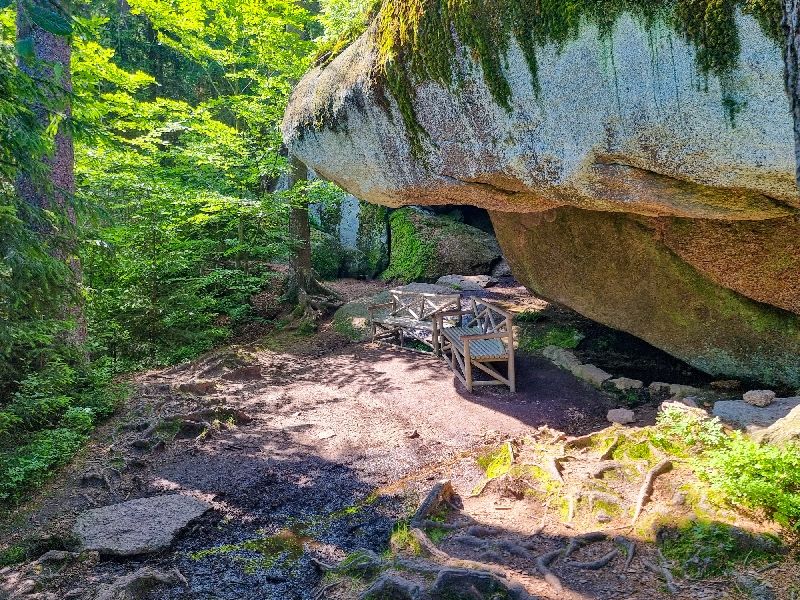
Viel sieht man aber nicht mehr von diesem „Aussichtspunkt „..
There is no great view from this point, though…

Aber von hier ganz oben schon!
But from the top of the labyrinth you have!
Jedenfalls ist es bei schönem Wetter einen Ausflug wert! Offen April bis in November.
Definitely worth a visit if the weather is fine! Open from April till November.