
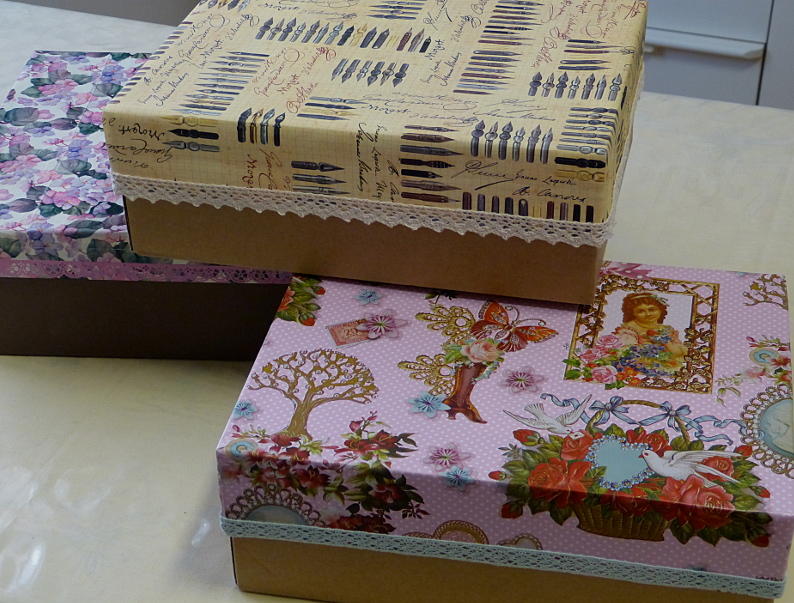
Für meine Kreativarbeiten brauche ich natürlich viel Material und somit Stauraum. Für kleine und mittelgroße Dinge verwende ich gern stabile Kartons, die z.B. bei Schuhen oder als Versandkartons vom Bastelversand anfallen. Aber auch als Geschenkboxen eignen diese sich gut! In beiden Fällen werden sie zunächst von mir ein wenig aufgepeppt…
As storage for my creative materials I like sturdy cardboard boxes. Those that come with shoes or shipping boxes from craft supply shops are often very well suited. With a little makeover they even make for nice gift boxes!

Wenn der Karton relativ schlicht ist, reicht es schon, den Deckel zu verzieren. Das mache ich gern mit schönem Geschenkpapier – davon habe ich immer reichlich, weil ich nie widerstehen kann… Sprühkleber ist dabei praktisch, weil das Papier davon nicht durchweicht und so keine Wellen wirft. Dabei sollte das Papier mit der Kartonkante abschließen, denn wenn – eigentlich sehr ordentlich – um die Kante geklebt wird, kann es sein, dass der Deckel nicht mehr genug Spiel hat, um ihn leicht zu öffnen/zu schließen! Dafür bekommt die Kante noch einen Abschluss aus selbstklebender Spitze oder Washi-Tape, das sieht auch ordentlich aus.
If the box has blank sides it’s often enough to just cover the lid – for example with a nice gift wrapping paper. There are always different ones in my stash since I never can withstand the temptation to buy some! Spray glue is perfect for this task because it doesn’t soak the paper as water based glue does; thus preventing the paper from getting wavy. The paper has to be cut flush with the edge, not going around – otherwise it may result in the lid not having enough space to be opened/closed easily enough. Instead, the edge gets embellished by a self adhesive lace border or washi tape.
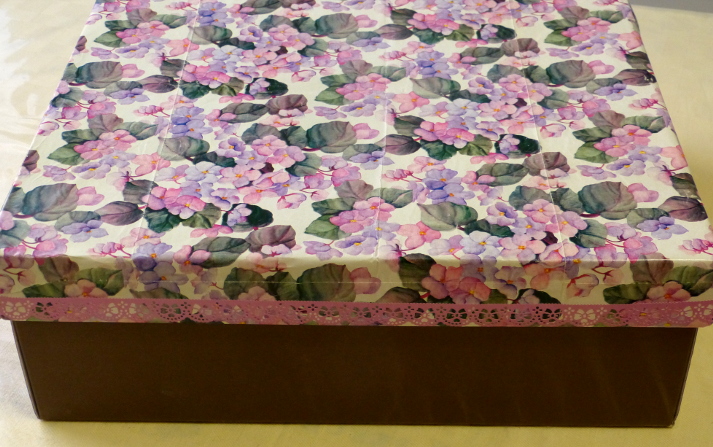
Das Geschenkpapier mit den Blüten ist ein ganz altes vom Flohmarkt! Doppeltes Upcycling! Da ich die Boxen stapeln möchte, bleibt die Oberfläche flach. Als Geschenkbox kann man sie natürlich obendrauf noch viel schöner bekleben!
The gift wrapping paper above is a vintage one from the flea market – perfect upcycling! Since I want to pile the boxes on my shelf the surfaces of the lids have to stay flat – when using them as gift boxes much more 3-D embellishment is possible!

In dieses ziemlich kitschige Papier würde ich wohl kein Geschenk einpacken.. Aber für so einen Karton ist es okay, finde ich! Lauter Shabby Motive…
Even a sugary paper like the one above is okay for a shabby box…

Dieser Karton hat einen Klappdeckel, das mag ich besonders gern. Allerdings war er rundherum mit Infos zum ehemaligen Inhalt bedruckt, sodass ich ihn komplett weiß gestrichen habe, bevor ich von einem Vintage-Papierblock hübsche Motivseiten daraufgeklebt habe. Die Klappkante habe ich mit weißem Powertape innen und außen verstärkt. Auch sonst muss man manchmal die Kanten oder Ecken etwas mit Klebeband verstärken und schützen, damit die Box lange hält.
This box comes with a hinged lid; something I appreciate very much. Since all around the box were printed infos about the former content, I chose to paint the box white before choosing some craft papers with vintage print motives to glue on the lid and the front. The cardboard „hinged“ edge got strips of duct tape inside an out to reinforce it. Sometimes it’s best to reinforce some of the edges anyway.

Oben: weißes Powertape an der Klappkante, darüber Washitape. Unten: Praktisch und hübsch ist eine kleine Schlaufe, die das Öffnen erleichtert. Hier ist sie angetackert, die Tackernadel verborgen unter Washi Tape und einem Sticker.
Above: duct tape beneath washi tape. Below: a small ribbon loop looks nice and comes in handy when opening the box. This one has been stapled on; the staples being hidden underneath the washi tape and a sticker.
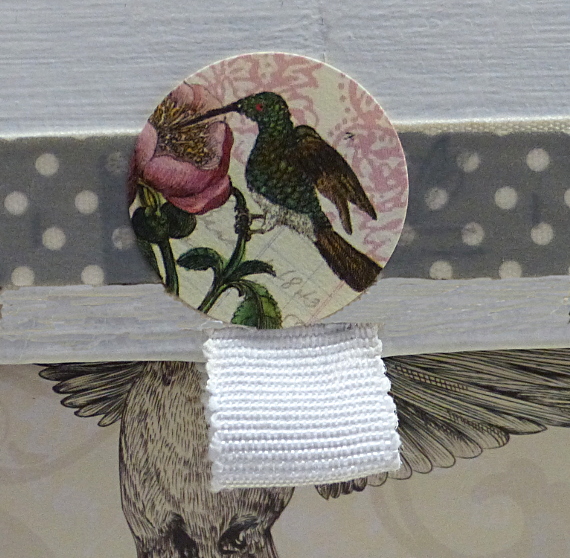

Das Papiermotiv wurde noch ergänzt mit Sticker und Stücken von Tortenspitze.
Some stickers and and bits of paper lace were added to the vintage paper.

cool!
LikeLike